Hey o/
I'm still working on this project, and will update this page when I have something new to say.
While scrolling through YouTube videos, I came upon a video by Branta Games about an effect that he uses to create a game. As I'm not aware of a name for this effect, I will call it 'Persistence Noise Effect'. You can see the effect in action in this video (Seizure warning).
The effect works by displaying a noise image and categorizing the pixels of your video into two categories: 'moving' and 'motionless'. Then, by moving all the pixels of the first category downward fast enough, this will trigger the persistence of vision of the human eye. By doing so, you can have an effect that will, to the human eye, look like a video, even though each frame taken individually will look like a randomly generated picture of some noise.
As this effect reminds me of the popular clip from 'The Matrix' in this scene, I tried to recreate it with my webcam as an input stream.
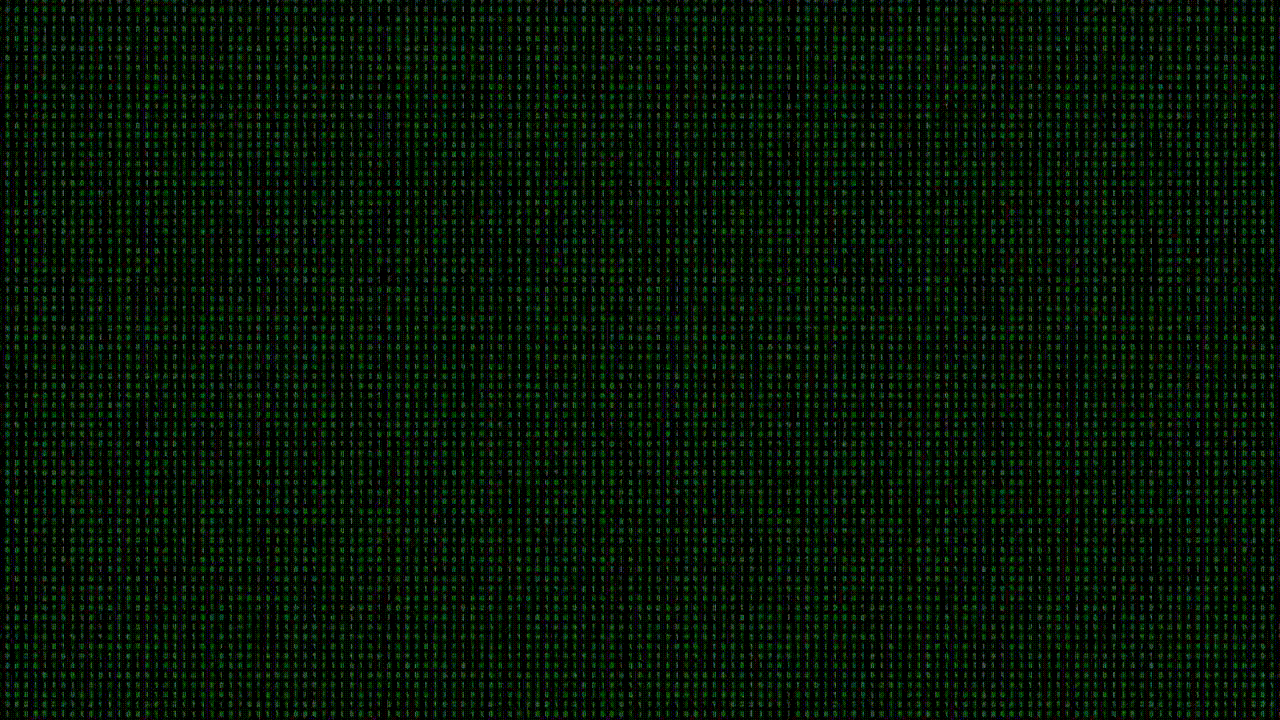
Initially, I decided to create this effect by using 0 and 1 characters instead of white and black pixels. To implement it, we need to break it down into the three following steps:
Nowadays, webcam resolutions are higher and higher. This means that the quantity of data that needs to be analyzed by the program is really large. For example, if we have a camera that captures 60 frames per second with a resolution of 720p, this means that each second, we need to analyze 46,656,000 pixels. This takes a lot of CPU resources, and even if we will try to optimize this later on, we need to reduce this input stream.
The second reason we need to reduce this input is that if you want to display characters on a screen, each one of them would take up space, and this space is not a 1x1 pixel. This means that the resolution that we will be rendering in the output stream will be lower than the resolution in the input stream.
To solve this downscale issue, I decided to have a quick rescale of the picture, nothing too fancy (so no bilinear interpolation or nearest-neighbor interpolation). I just grouped all the pixels inside a 4x4 square, got the average color, and placed this average into a new matrix. Which means that I had a reduction of the image by 4 (reducing a 720p input stream to a 180p output stream).
The second step we need to do is to categorize the different pixels. For example, if we want to have only the person moving inside the effect, we need to be able to dissociate them from the background. Fortunately for me, as I didn't want to tackle face recognition tools here, my camera already had a background remover effect that I decided to use.
To be sure that the image would be separated into two categories, we can also add a grayscale effect that will convert every pixel into its grayscale counterpart, and a luminance booster effect to be sure that the background pixels (that my webcam colored black) are a separate color from the subject.
Finally, we need to render the visuals, and as I was using Unity for this project, I decided to use the easiest tool I had on hand: TMP Pro, a built-in add-on to display text. With some hindsight, I realize that this was absolutely unoptimal, as TMP Pro allows a lot of customization and, by doing so, has a lot of latency (due to the fact that it's flooding the Garbage Collector).
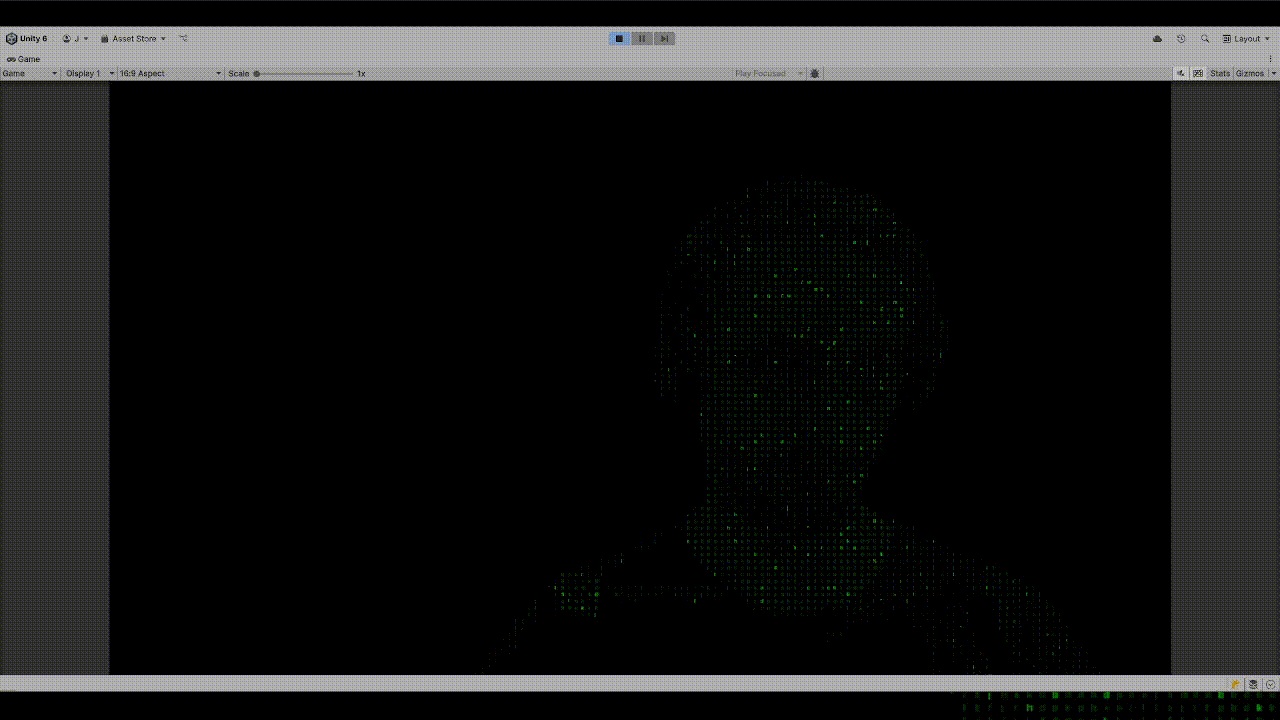
As my pixels were already categorized, all I had to do to show it on screen was to keep the characters that were moving and add an effect to the others (here, by moving them downward).
As you can see, the effect works, but it's more of a nuisance than anything. It's hard to focus, you can't see the details of the face or the body, and worst of all, it's headache-inducing.
To be honest with you, I was ready to throw this idea in the bin, as it was a failure, when I decided to focus more on 'The Matrix' effect I imagined earlier. To do so, I dropped the 'Persistence Noise Effect' and decided to use ASCII art to draw what the webcam was seeing, adding the effect of the characters going downward onto that.
Updating the code to replace the 'Persistence Noise Effect' with ASCII Art means that we needed to tackle one or two things. But we start by doing the same process: downscaling the initial stream by making an average of the nearest pixel colors.
Then we need to translate it to a grayscale image, but as there is a limited amount of ASCII characters (for this work, I decided to use 'only' 64 characters), we also need to round each grayscale pixel to a number between 0 and 63 to have every pixel matching with a character.
Finally, we can render every character on the screen to obtain this translation to ASCII Art.
Unfortunately, as I was using an unoptimal way to print these characters on screen, the frame rate of the stream could drop significantly and could crash due to the high calculation demands.
The workaround we can use is to have multiple textures filled with one type of character. For example, for high luminance, we fill a texture with #@B% characters and for low luminance, we fill with .,'`
Then, instead of printing the characters through an object doing it for us (TMP Pro in my case), we can generate a new texture. This texture is generated by going through every grayscale pixel, matching it with one of the multiple textures we have filled earlier, and filling the emplacement of this pixel in our new texture with this filled one.
By just applying the texture to an object that fills the camera, we now have way less calculation happening each frame, which allows us to add the effect of the characters generating by going downward.
To do so, we just need an index of all the highlighted grayscale pixel emplacements, moving them each frame on the Y-axis. Then, when replacing the generated texture with the filled texture, checking if this texture must be highlighted and increasing the luminance in that case.
As you can see, the render was really cool, and it was something more interesting and less headache-inducing. I really liked it, but it was heavy on my CPU.
To help discharge my CPU of thoses calculation, I opted to optimize the code by using shaders, as it will allow me to use my GPU, which is really good for thoses kind of calculation.
To use shadder in Unity, we need to translate this program into HLSL. Unity shadder work by dividing into two shadders : the mesh shadder, that allow to move vertices, to make some depth into a texture ; and the frag shader, which allow to change the texture, and the color of the pixel shown on screen.
As shader work by multi-tasking, the difficulty for highlighting some of the ascii characters, is that it does not know the indexes and it's not recommanded to use if conditions, as GPU are more effective with calculation than conditionnal programming.
With this in mind, I'm still working on this part, so I will update it when I have more to add.
In parallel with this last part, I had the idea to modify the mesh I was working with to render it with depth perception. This will allow us to have something more like 'The Matrix' effect, as the text is distorted through objects in this scene.
To do so, we need to reverse a depth texture into points. By taking every pixel emplacement, we calculate the position of this point in view space by projecting with the camera's inverse projection matrices (I think? I'm still working on it; to understand it, I must confess).
We will need after that to recreate a mesh with Poisson surface reconstruction, which will help us construct the mesh. To help improve this mesh and the calculations needed afterward, I will also implement the Decimation of Triangle Mesh algorithm to reduce the number of calculations.
The final step I will probably do is connect a Kinect to have the video and mesh generator both turned on at the same time. I may add some calculations to move the mesh instead of creating a new one each frame, to allow a feeling of rotation on the different elements captured by the camera.

